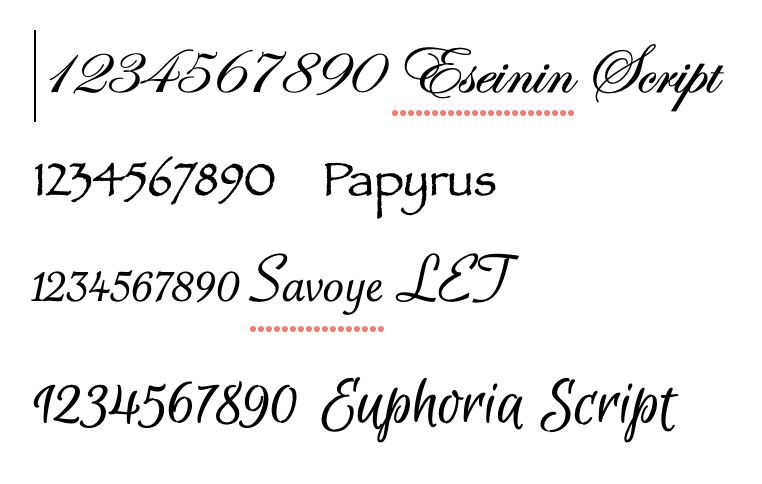
After seeing the results of engraving numbers small enough for the D&D dice, the decision was made to once again try etching brass. The first step is laying out all of the desired numbers and printing them on the blue transfer sheets. The same four fonts are still in the running.
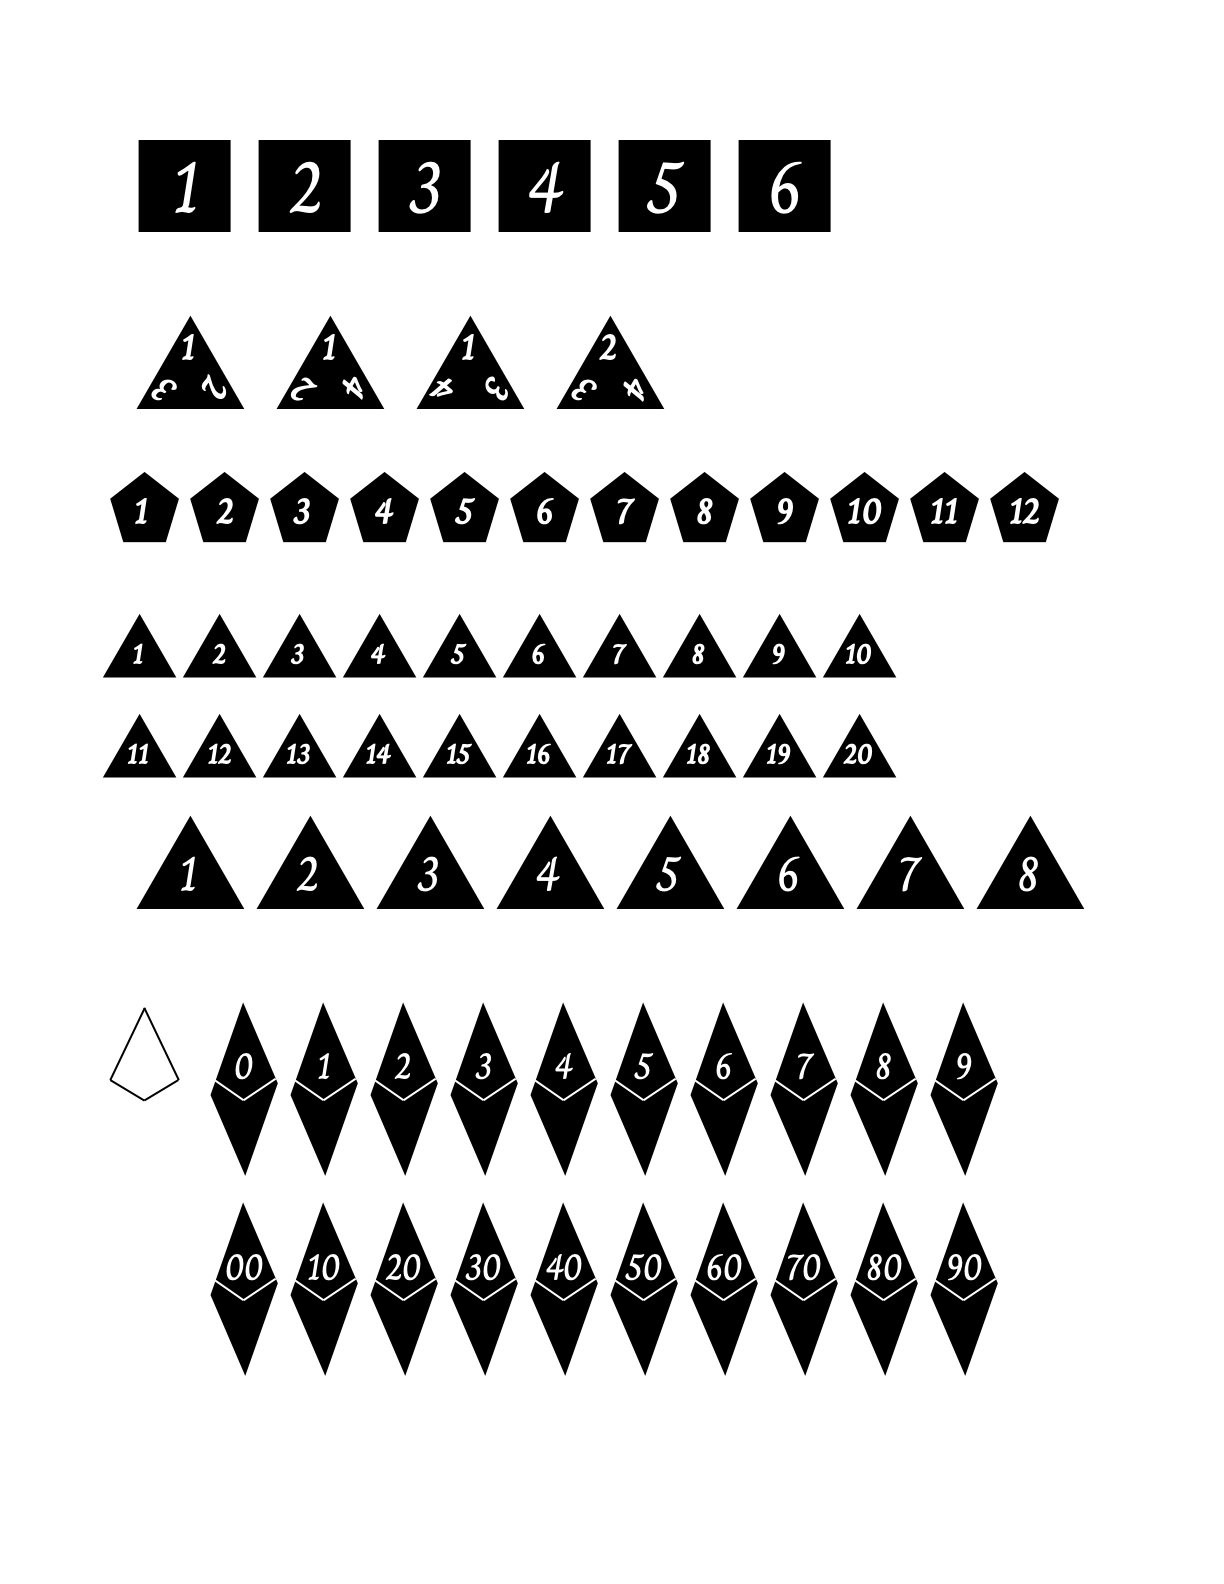
Graphic.app will be used to draw the numbers white on a black background. Each number will be framed by the appropriately sized regular polygon. For completeness the side lengths of the different polygons are listed in the table below.
| Die | Numbers | Polygon | Side Length |
|---|---|---|---|
| Cube | 1-6 | Square | 5/8" |
| Tetrahedron | 1-4 | Triangle | 3/4" |
| Dodecahedron | 1-12 | Pentagon | 5/16" |
| Icosahedron | 1-20 | Triangle | 1/2" |
| Octahedron | 1-8 | Triangle | 3/4" |
| Pent Trap | 0-9 & 00-90 | Trapezoid | 9/16" & 9/32" |
Don't forget to underscore the 6's and 9's! Or use a dot. Also the tetrahedron has all four numbers on each side as the vertex is what is rolled.
With a few hiccups all of the dice faces were made in black and the numbers were put in place. Zapfino was the chosen font. The page of dice faces was printed and did not look nearly as nice as the screen. The letters' lines were too thin and did not show up well. No bold version is available. A different font was selected, Charm, which looks good on screen. It does have a bold version if needed.
The numerals were switched to the Charm font. Font sizes also had to be modified for each of the dice faces. The final result can be seen in the .png exported from Graphic. As can be seen in the picture below, I was unable to find a way to fill the trapezoid. I ended up using the skew tool on a square and approximating the line locations and lengths. As long as I can get reasonable transfer around the numbers all should be good. Now it is off to the printer, OfficeMax.
With the numbers in hand ironing comes next. A scrap of old PNP with some text from the orrery was used for two trial runs. A 1" square piece of 1/16" brass sheet was sanded to 600 grit and rinsed with acetone. A square of the PNP was applied and held in place with clear tape. The iron was set to wool (between the O's). The hot iron was held on the part, supported on a scrap of wood, with slow movement of the iron for one minute. It was clear that some of the tape melted and when removed the transfer was not good. A second trial was made on the other side of the piece of brass, prepared as above. This time masking tape (Scotch brand) was used. Care was taken to ensure the PNP was not bubbled anywhere. Again the hot iron was applied for one minute. The photo below shows the very nice transfer.

Time for the real thing. The cube was chosen as it is easiest to hold in the vise. It was rinsed with acetone and the number one in a square of PNP was cut and taped on one face. The cube held in aluminum soft jaws in the vise was heated with the iron for 1 minute with no discernable transfer. Two minutes of heating also gave no transfer. The aluminum soft jaws were replaced with wood soft jaws and the block was heated for five minutes giving a nice transfer as seen in the photo below. Hmmm, what is wrong with this picture? I forgot to flip the numbers backwards!!!!!

The numbers were all flipped around the vertical axis and are now backwards in the printout. Back to Office Depot with the last two sheets of blue PNP film. With the new printouts in hand it was back to the iron. The previous ink was removed with acetone on a paper towel. The new printout was taped on with one layer of masking tape and heated for five minutes.
Numbers 1 & 6 went well, but for some reason 2 did not transfer on one side of the face. It was redone and still has some poor transfer seen in the photo below. This can be touched up before etching. A further worry is the tape. It can easily peel off some of the transferred ink. The same thing happened with the wooden vise jaws where some ink was transferred from the 6 face to the vise jaw. Another factor to take into account is the time needed for each face. These faces are taking about 15 minutes each.


A slightly different approach is to set the die on a piece of wood, maybe with a piece of the PNP scrap plastic between the die and the wood, and then heat the die with the iron. After finishing the first side the die is turned, a new face has the number taped on and it is heated briefly, a minute or so. This is repeated all while the die remains relatively hot. The tape will need to be cut to fit a face and the PNP with number will need to be cut smaller than the face. A pair of grippers will need to be prepared with plastic gripping surfaces to turn the hot die. Another alternative is purchasing a hot plate. Went for the full enchilada purchasing a hot plate, silicone coated grippers and small non-steam iron along with more PNP transfer film. The film is purchased from Teckniks. Work is temporary on hold until the purchases arrive. Happy Mar10 day!
The newest plan is to warm the die on the hot plate. The die will not sit directly on the hot plate, but on scrap plastic transfer film without the ink. The number will be stuck to masking tape cut to just overlap the number and stick only to the top die face. This face will be heated with the iron for a less than five minutes as the die will already be hot. The tape and film will be removed and the die flipped to the next face to repeat the process. Any bad takes will be wiped off after the die cools, the die will be reheated and the cleaned faces renumbered.
The presents arrived last evening, a hot plate, baby iron and silicone grippers. The photo below shows the iron and hot plate. Time to enact the above plan, heating a die between cast iron and ceramic!

A small experiment was conducted with the hot plate, 1/4" of water was heated on setting #1, bringing the water to barely boiling in 3-4 minutes. The light that indicates the heating element is on, shut off just as water began to bubble. I am calling this simmer or about 200° F. We will begin this process with the hot plate set to setting #1. Three faces of the cubic die remain unnumbered, though the 1 & 6 need to be redone, so five faces were wiped with acetone to remove ink and glue. The corresponding numbers for these faces were prepared on tape in advance.


Hmmm! Not so good, but maybe the process can be salvaged. the first problem was the plastic film melted onto the hot plate. the surface must be significantly hotter than expected. After cleaning most of the goop off an aluminum plate was used to distribute the heat and protect the hot plate. The cube after five minutes was hot, probably too hot as #6 slipped during ironing. In fact the iron was used more to press the succeeding numbers onto the cube and not really for heating. The last two numbers got the iron for only ten seconds or so. The cube was left to cool on the table saw's surface. The photos below show the results. The 6 smeared as the iron was left on too long, The other numbers are not too bad. The 2 was grabbed by the grippers on numerous occasions while hot, leaving marks. Notice the 3 is upside down!


I may have figured it out, a tapeless approach. The hot plate is set on the dot before #1. The film is cut with a holding strip of blue film on one side of the number. The die is heated up and the number applied with needle nose pliers, making sure it sticks immediately. The iron is held on the film for 60 seconds. The die is turned for the next number. This worked well on the second half of the octahedron, where only the number 4 slipped, but 2, 6, & 8 were good transfers. Repeated the other four, only two of them worked well. Hopefully, my success rate with improve with practice.


Moving forward, even though more copies of the PNP are needed. The PT is the next target, the one with the numbers 0-9. The even numbers, including 0 were cut out first. Their order of pressing in place is dictated by the die provided by Levi. Impossible on these small faces!! I can't hold the iron on the PNP sitting on the die without it slipping and moving the PNP! Tape does not work. I am running out of options.
Stamping does not produce great looking letters or numbers, but may be my only choice at this point. I pulled out my stamps and tried it out on the scrap octahedron. The numbers are too small for this size die face, but other than that, not too bad. The letters were filled with black fingernail polish and the excess scraped off. A little clean-up with acetone produced the numbered die shown below.

The least expensive stamps I could find were on Etsy. A 1/4" set of number stamps is $14 and a 3/8" number set is $24. Both were ordered this morning. MSC had number sets starting at $40, while McMaster-Carr had full sets starting at over $100. Unfortunately, the stamps won't show up for at least two weeks, though shipping is free.
The stamps showed up the last day of March, so now it is time to complete the dice. The first task was recutting the stamping jig. The jig was not the same on both ends. It was chucked in the mill vise and one side of the vee groove was set vertical with the rule. The vee groove was recut with a 3/16" end mill producing a square corner and a groove that was square to the base. The jig is shown below.

The first die numbered was the cubic die as it is the simplest, especially with respect to holding the part with one face level on top. The numbers were punched and the die was sanded lightly on all sides with 1000 grit paper. The edges and corners were sanded similarly. The first two photos below show the hexahedron and octahedron at this stage.

Black fingernail polish was painted on the numbers, scraped off with a plastic scraper and then cleaned up with a rag dipped in acetone. The numbers are somewhat disappointing after all this work as seen in the photo below.

A test run was conducted on some previous stamping practice. The stamped numbers were painted with fingernail polish and scraped. After drying Protecta-Clear was painted onto the brass. The fingernail polish did not run!! The plan for varnishing these two dice is to do all but one face with two coats and then do the last face after the previously painted faces have dried, 45 minutes or so.
The varnishing was completed, two coats, on the first two dice. The dodecagon was numbered next using the middle size stamps, 1/4", just purchased. This die requires two digit numbers, which were done without any special alignment. The completely stamped die is shown below.

The process was repeated for the icosahedron. Both dice were then sanded on edges and corners with 600 grit sandpaper. The faces were sanded with 1000 grit sandpaper. The dice were washed with soap and water followed by an acetone rinse. The numbers were blackened and the varnish was painted on.
Second thoughts! I really don't like the look of the punched numbers. Even the well- done numbers are boring and rather ugly. Unfortunately, there are many numbers that are also ugly due to poor implementation, incorrectly placed, poorly struck, etc. After browsing all of Google's fonts, one was selected that was unique and looked to be doable with my minimal engraving skill, Caesar Dressing. Time for some engraving practice.
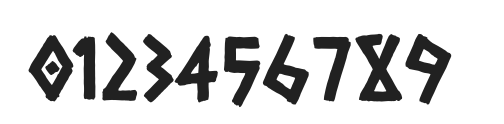
The numbers were printed out at multiple sizes. A few numbers were transferred to a scrap of brass using China white and carbon paper. The numbers were then fairly easily engraved. After engraving the brass was washed and then the numbers were blackened with the fingernail polish. The three photos below show the progression of events, from engraved to blackened. (Don't understand why the brass came out looking brown in the last two photos.) A quick sanding on 1000 grit sandpaper did a good job cleaning up the brass as seen in the fourth image. I think we've got a winner!


The two pentagonal trapezohedrons were the guinea pigs for engraving Caesar dressing numerals. The die was held between two small pieces of wood in the engraver's vise. The vise had to be cranked tight to keep the die from twisting during engraving. The face was smeared with China white and the numeral transferred to the face using carbon paper and numerals on translucent transfer paper. The latter allowed careful alignment of the numeral. The numerals were then readily engraved as they are all made of short line segments. The first picture below shows the first engraving, the number 0. After engraving all ten numerals the die was washed. The second picture below shows both of the completed pentagonal trapezohedrons.


I am leaning against using the fingernail polish to blacken the numerals. I prefer the bright numeral against a matte finish, so the dice will be sanded with 1000 grit sandpaper. The already finished dice were covered in acetone to remove the varnish and the fingernail polish. While waiting for this to happen, the two PT dice were sanded with 1000 grit sandpaper. The edges and corners were sanded with 600 grit sandpaper. These two dice are seen below.

An hour plus of sanding and the four dice had their numerals removed. My hands are shot. Two hours later I completed the sanding with 220, 320, 400, and 600 grit sandpaper, quite a bit easier than removing the numerals, though still a long process with forty-six faces to sand.
Engraving began with the hexahedron after an afternoon off to view the solar eclipse, seen in the photo below (notice the star to the lower right of the sun! Unfortunately, the photo does not capture the annular ring very clearly.) This die could be held directly in the engraver's vise jaws. The octahedron done next could not be held in the vise and was held to a block of wood with double sided tape. The photo below shows the two engraved dice still covered in China white.


The dodecahedron was difficult to hold tightly enough in the vise so it didn't turn during engraving, but perseverance paid off and the die was completed. The next morning the icosahedron was tackled. Lots of care was taken to get the correct numerals on each face in the appropriate orientation. Two hours later the die was fully engraved. The photo below shows the 12- and 20-sided dice. Only the tetrahedron remains.

The next to the last task was then tackled, sanding. All of the edges and corners for the tetrahedron, hexahedron, octahedron, dodecahedron, and icosahedron (edges only) were sanded with 600 grit sandpaper. The engraved faces were sanded with 1000 grit sandpaper. All five dice were washed with soap and water and then cleaned with acetone. After drying, all seven of the dice were painted with Protecta-Clear varnish, two coats. The first photo below shows the dice just before painting.

The second set of dice faces were painted this morning. Levi will be over tomorrow evening, so hope to give him the dice then. The first photo below shows the painting setup. The second shows the completed set of seven dice.

